The most common question I get asked when learning lettering is, what is the difference between Brush and Faux Calligraphy?
The only real differences between them are;
- The type of pen you will use
- The type of technique you need when writing
- The type of projects you can create
Aside from those three things you will still need to practice your ‘basic strokes’ and understand how to build your letters and words together.
Let me run through the differences for you, so you can decide which is best to begin with.
BRUSH CALLIGRAPHY
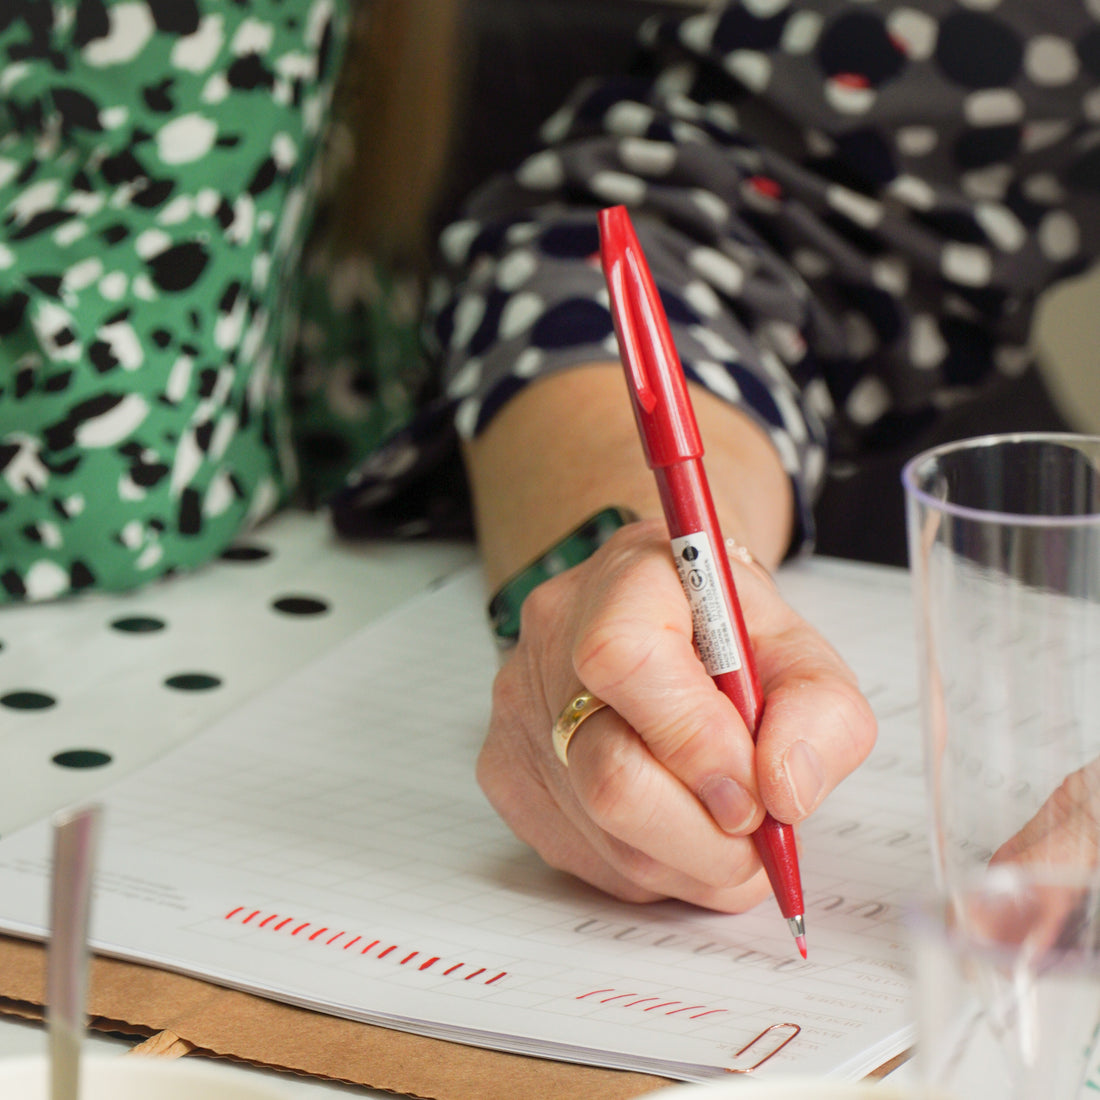
Brush Calligraphy is a style of lettering that uses ‘brush pens’. These can come in a range of sizes and colours but essentially they are a pen that has a flexible nib.
This nib will move depending on the pressure you apply to the pen and will create the thick lines you see in Calligraphy when a lot of pressure is applied.
When starting with brush lettering, you will need to get used to the different pressures needed in order to get those thick VS thin lines that create the calligraphy style. The best way to do this is practicing your basic strokes before jumping into letters.
When moving in the downward direction, apply more pressure.
When moving in the upward direction, lift that pressure to get your thinner line.
Give yourself time to get used to this new tool and enjoy the process.
Personally I found it easier to learn with smaller brush pens, like the Tombow Fudenosuke, as you can have more control over the pen.
Another thing to note is the materials you can use brush lettering on. Because the pens are sensitive and will begin to fray overtime, you want to try to stick to smooth surfaces only. You can create projects like place cards, prints, cards and wrapping paper.
FAUX CALLIGRAPHY
Faux Calligraphy is the type of lettering where you will ‘fake’ it. Where the pen creates the thick lines for you in brush calligraphy, here you will insert those yourself.
You will need to use a pen that doesn’t flex when pressure is applied, such as a pencil, biro, fine liner, paint marker etc.
When you begin your basic strokes you will need to insert your downstroke, every time. Check out my example below. By following these steps, once the downstroke is filled, you will be given the same effect as brush calligraphy.
With this style it means you remove that extra layer of learning the pressures of a brush pen and can focus on getting your style right first.
Also you can create SO many projects with Faux Calligraphy with pens or paint pens, like Poscas.
Begin creating your projects like cards, place cards, table decor and then explore writing on wood, slate, glass, chalkboards, plant pots, pumpkins…you name it, with Faux Lettering you have a pretty good chance of being able to do it.
Personally Faux Calligraphy is what I began learning as I enjoyed the prospect of what I could create from it.
However, if you learn your basic strokes and understand how to form your letters, which is what I will teach you in my beginners workbook, you can absolutely do both kinds of Calligraphy!
P.S
A little insight into my journey learning calligraphy, I hated big brush pens like the Tombow Dual when I first began because I found it really difficult. I ended up not picking one up again for a year…don’t let it annoy you like that. Practice your strokes one by one, letting your hand apply the pressure. Breathe and just enjoy the process, you will be amazed when you look back at your work down the line!

